Create a Bootable USB
Infrastructure Tutorials
Download Create a Bootable USB tutorial.
For this tutorial, I am using a Windows 7 Professional Service Pack 1 host machine. I will be using the Etcher utility to create a bootable USB for CentOS 7. The bootable USB can be used to install the CentOS 7 operating system on a physical PC or in a VirtualBox VM (virtual machine).
After you've completed this tutorial, you can access one of my other tutorials where I demonstrate the installation of CentOS 7 using a bootable USB in a VirtualBox VM. It can be accessed here.
Prerequisites
- Active Internet Connection
Steps to complete tutorial:
Download Etcher
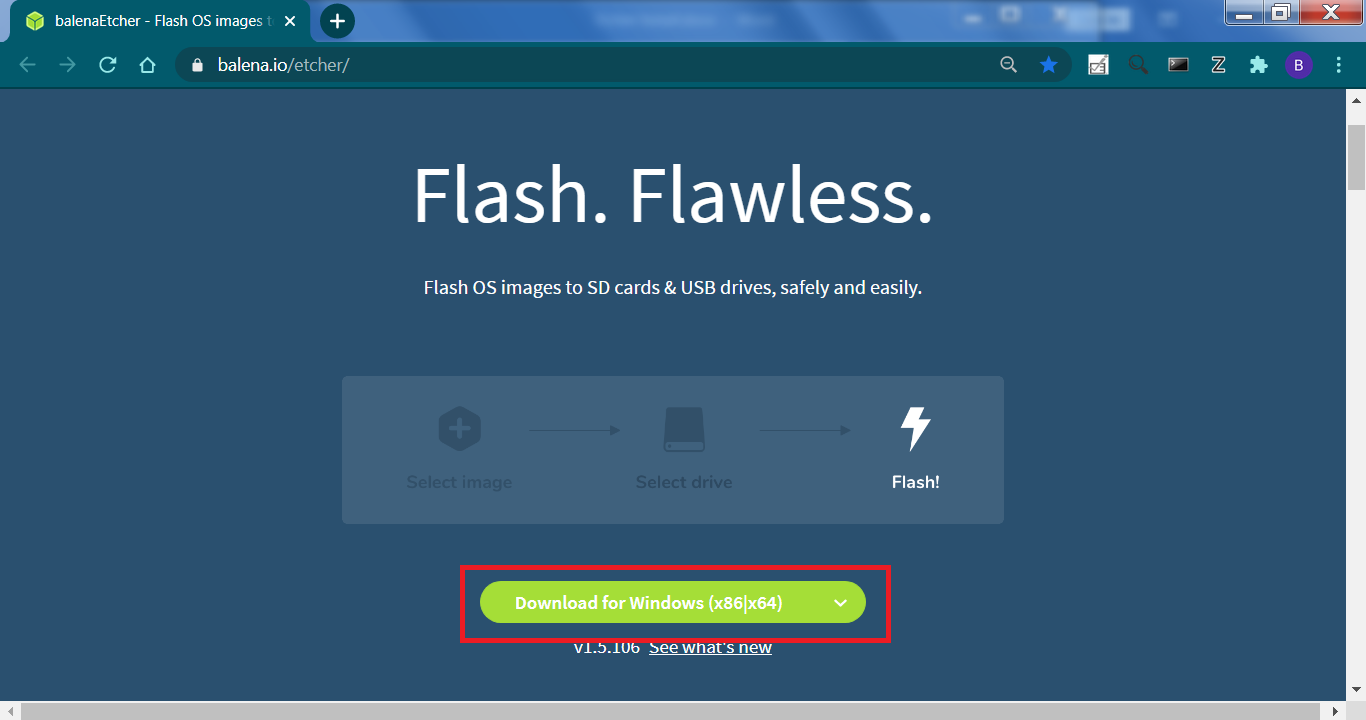
Go to the Etcher site at https://www.balena.io/etcher/ and download the application.
Install Etcher
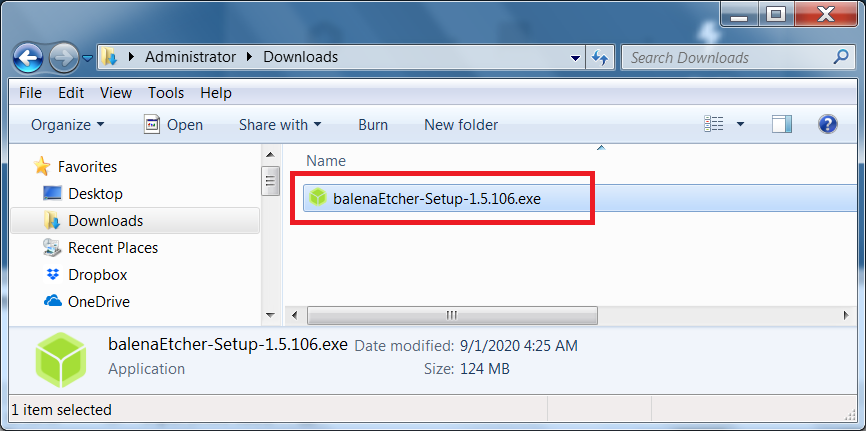
Once downloaded, double-click on the executable to begin installation.
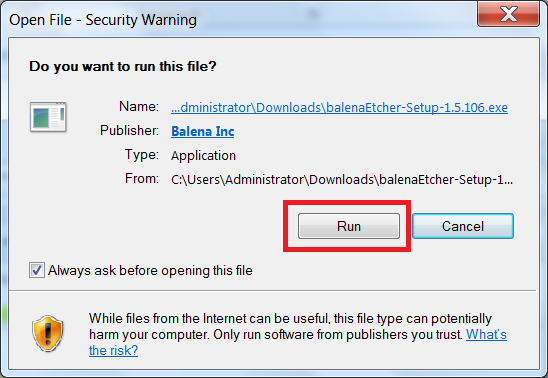
Accept the security warning and click Run.
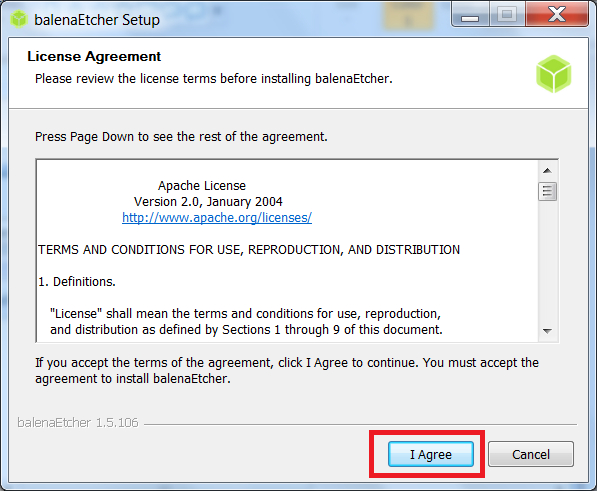
Accept the license agreement and click I Agree.
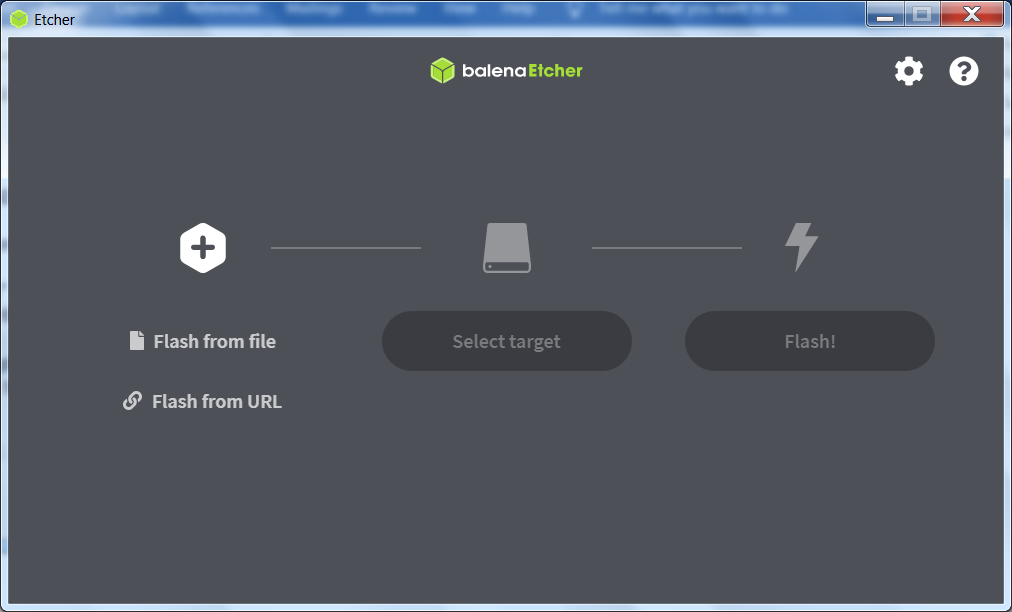
Etcher is installed and ready to be used.
Download CentOS 7
Click the following link to download CentOS 7 minimal ISO image. It will be downloaded to your local Downloads directory.
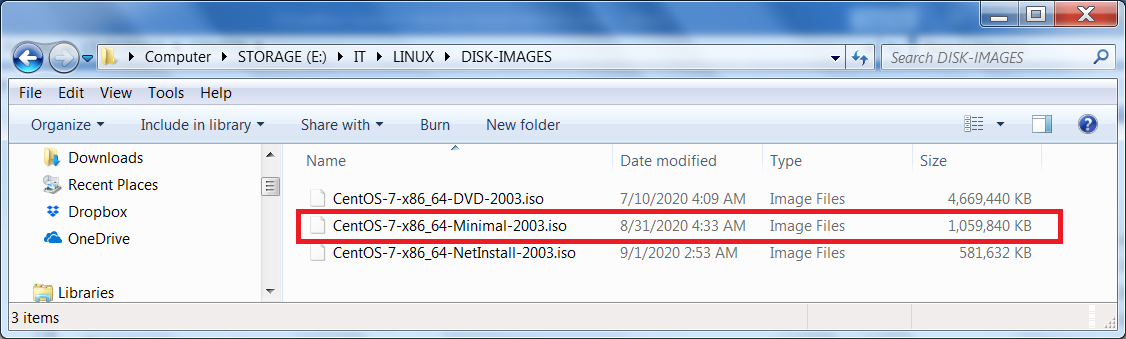
I have moved my downloads to a location where they can be easily accessible. Note, I have downloaded three versions: DVD, Minimal and NetInstall. Their sizes differ because they contain different contents. Below, I’ve listed the main differences:
- DVD – full install including GUI desktop environment
- Minimal – usually for server installations that require manual configurations
- NetInstall – boot DVD for installing from a network server
Create a bootable USB
Now that we have Etcher installed and a CentOS 7 ISO disk image downloaded, let’s perform a test to confirm that Etcher is working properly. We’ll create a bootable USB using our CentOS 7 ISO.
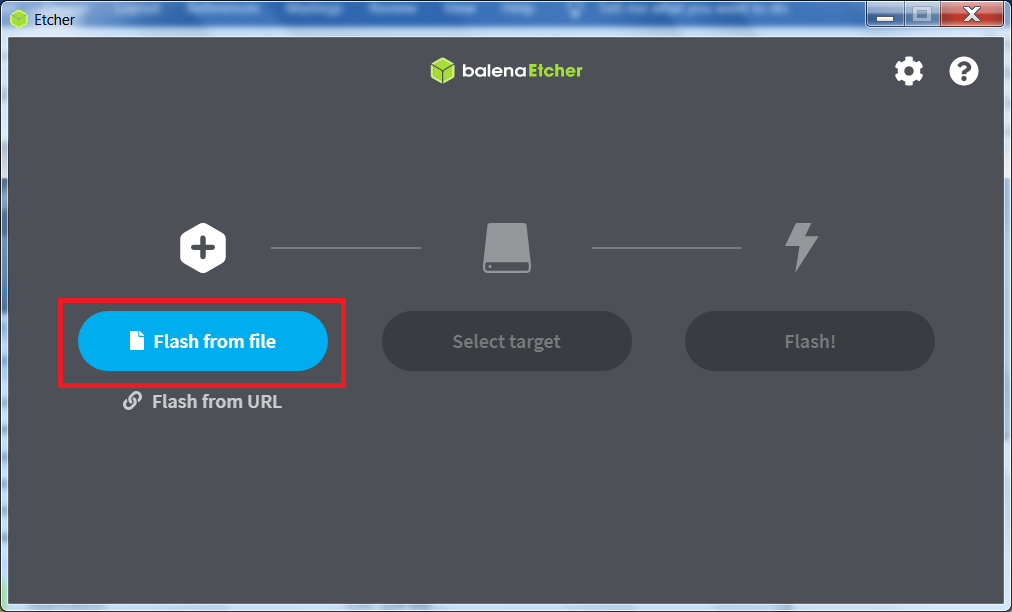
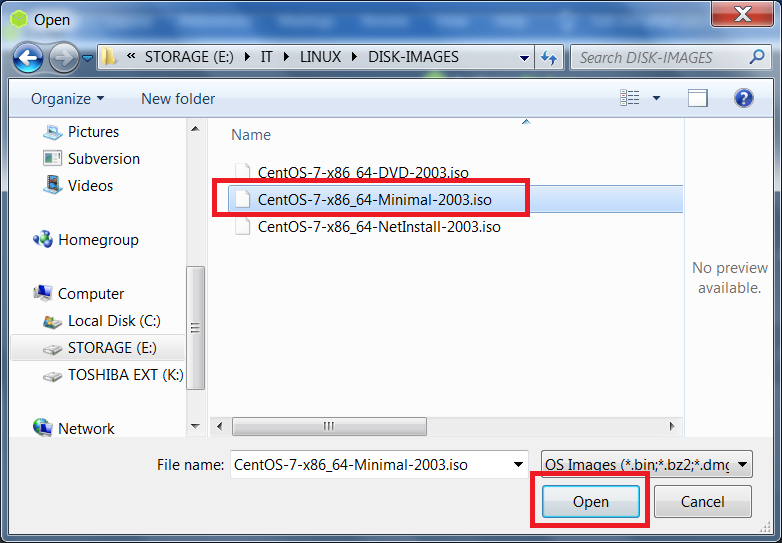
First, in Etcher's main window, click the Flash from file button and navigate to the ISO you wish to create a bootable USB from.
Once you've selected your ISO image, click Open
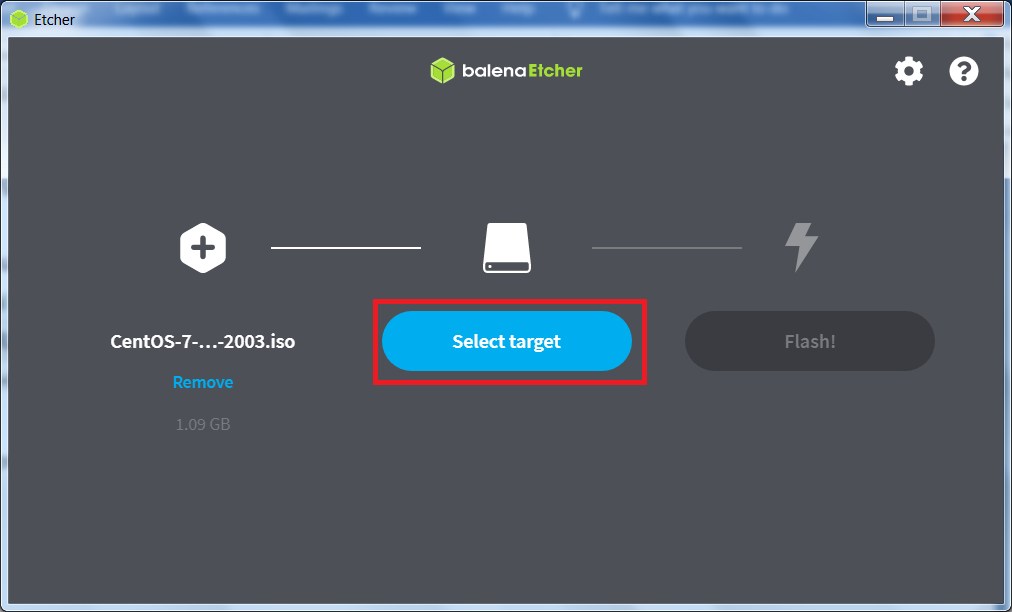
Next, insert your empty USB into an open port and click the Select target button to choose the location you wish
to save the flashed image.
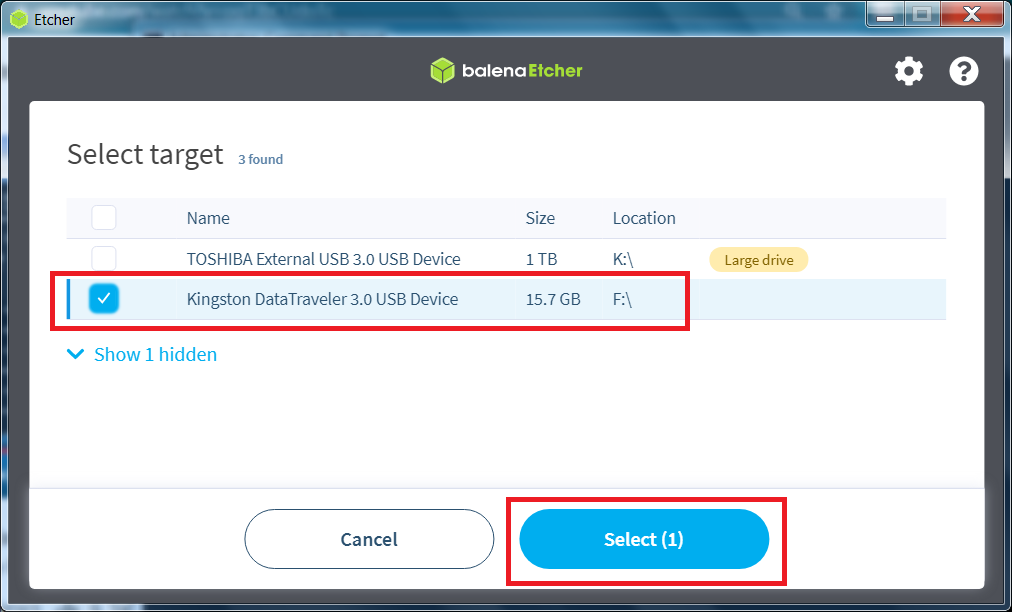
Ensure the correct destination target is selected (your empty USB), and click the Select (1) button.
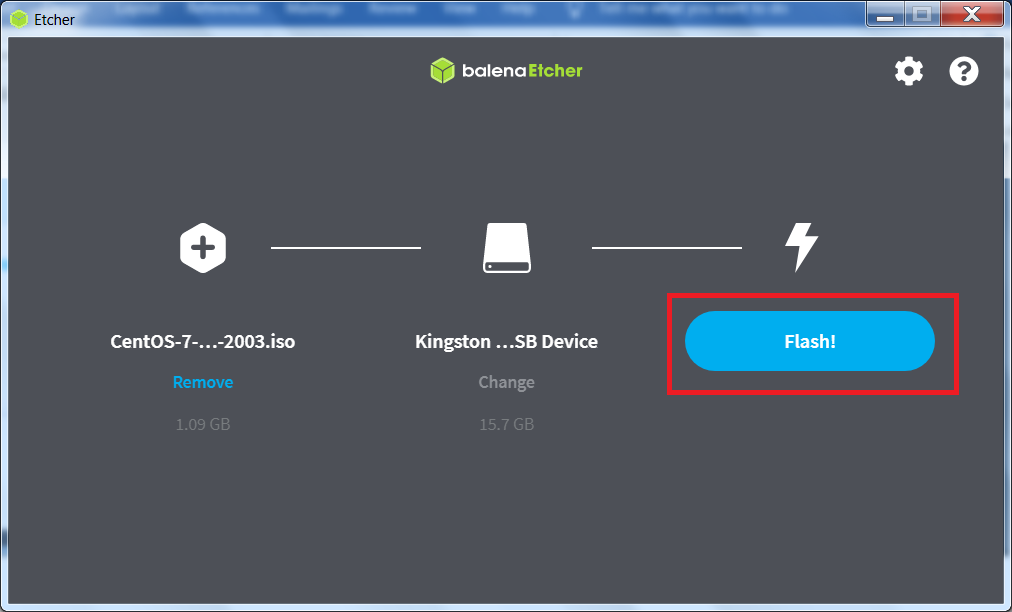
Click the Flash! button to create the bootable USB stick.
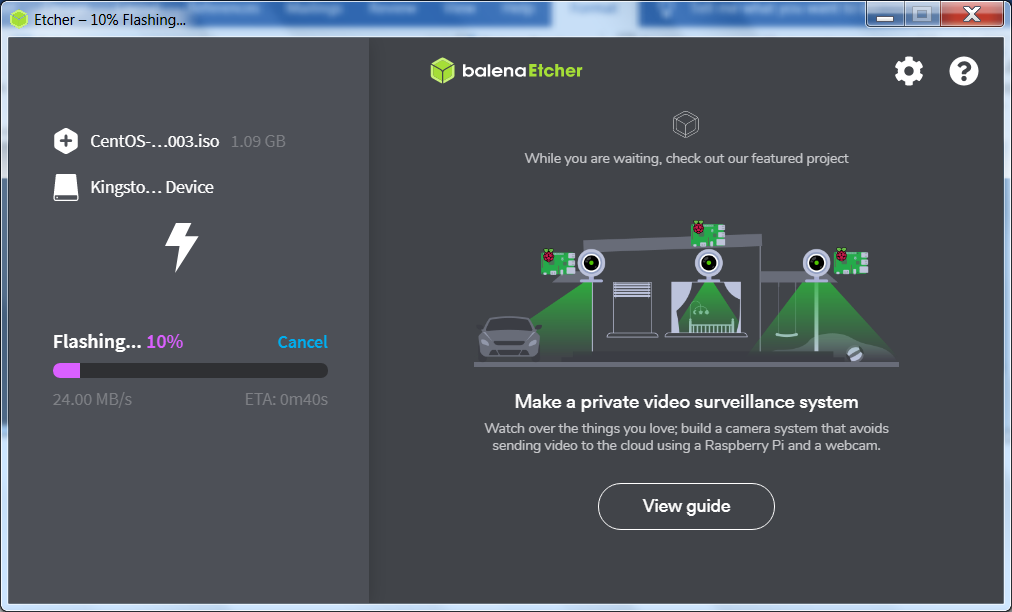
Etcher is in the process of creating your bootable USB.
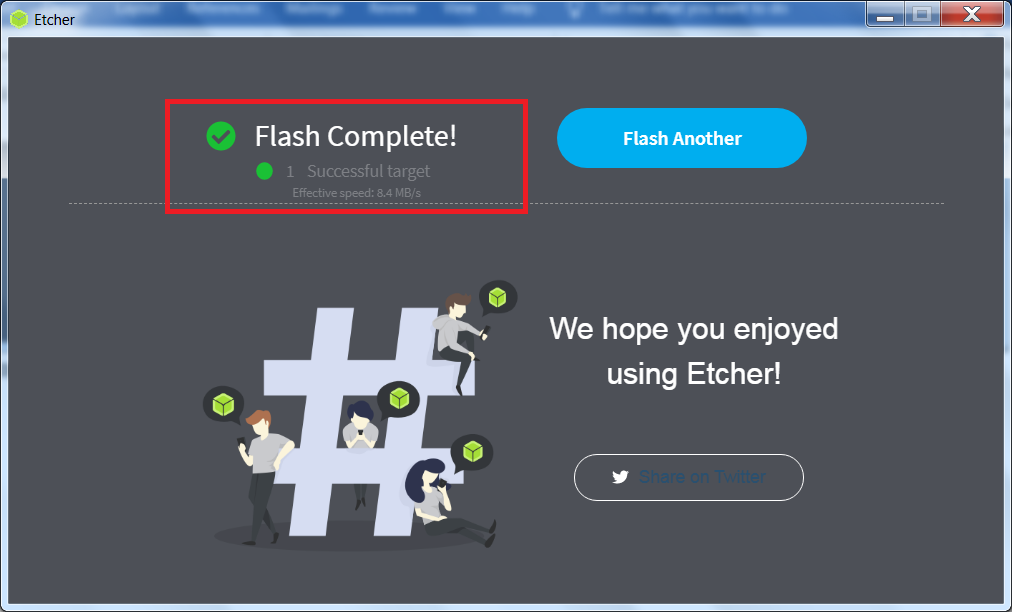
Once the operation has completed, you can use your bootable USB to install the CentOS 7 operating system
on a physical PC or in a VirtualBox VM (virtual machine).
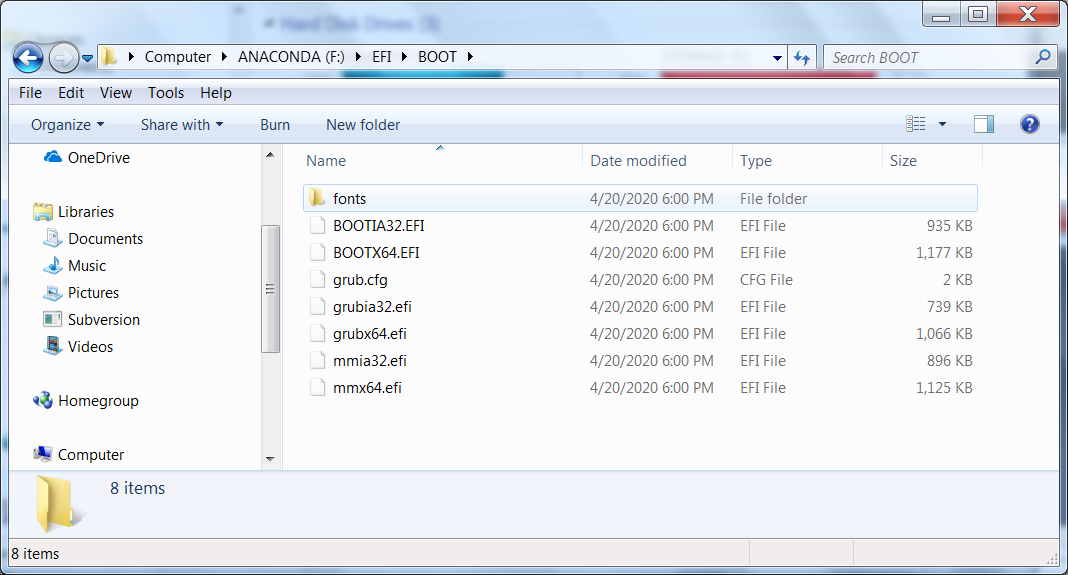
Here is a listing of the contents of my newly created bootable USB for CentOS 7.
Please note that the procedure to create a bootable USB, using Etcher, is very straight forward.
Hopefully, you’ve enjoyed completing this tutorial and would like to use your newly created CentOS 7 bootable USB to install the operating system.
In one of my other tutorials, I demonstrate the creation of a VirtualBox VM (virtual machine) and the installation of CentOS 7 using a bootable USB. It can be accessed here.
I have a number of other Infrastructure tutorials
Or, you can access all of my tutorials here.
Finally, if need be, you can download this tutorial Create a Bootable USB.